
Late 2020, through the influence and inspiration of some film friends as well as some Youtubers I follow closely, I decided to try my hand in developing my own film. I will go through the process I undertook with as much detail as I can but expect me to lazily breeze through it. I may also inadvertently leave some vital info out so this is not by any means a ‘how to’ post – but i’ll do my best to make it simple for anyone to at least get a grasp of what goes into this. And honestly, simple is all I know how to do when it comes to blogging. At most, I hope this becomes a newbie’s guide to self developing, with the dangers of screwing it up from time to time as I did. But honestly -I find B&W developing much more forgiving than colored. That one I’m still trying to get used to. Hopefully iIget to post a guide for that too, eventually.
One of the benefits of doing this is also saving money per roll compared to sending them over to the labs. I won’t do the math here as I’m sure you will be able to find cheaper alternatives once you know the basic chemicals and equipment.
IMPORTANT NOTE: I plan to still have a few rolls developed by our local labs from time to time to support this budding industry.
The Chemicals I Use
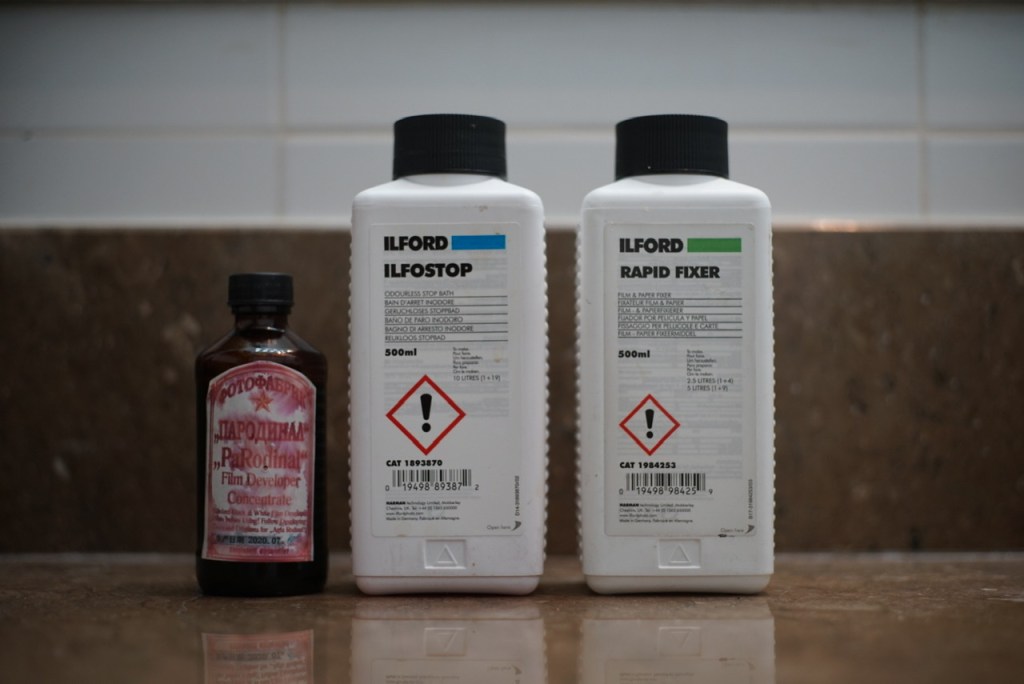
You will need three main chemicals:
- The Developer – I use parodinal, it is a local (home brewed) variation of the more renowned rodinal. There are many other types of developers out there from Kodak and other brands, but I get my desired results from this one, and i dont need to mix and ‘cook’ it like the others. I order mine from https://www.theonlinewarehouse.biz
- Stop bath – I use Ilford Ilfostop
- Fixer – I use Ilford Rapid Fixer. I get my Stop and Fixer from https://www.film-folk.com
- Photoflow – I just dilute some dishwasher (a drop will do) in a bottle of distilled water
EQUIPMENT AND PARAPHERNALIA I USE
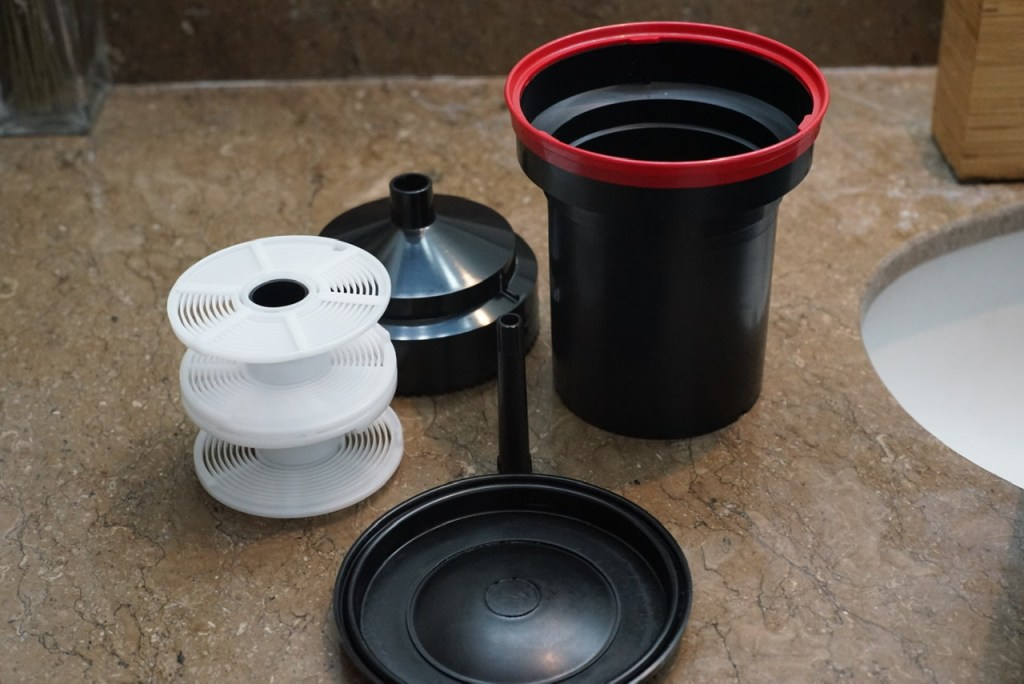
Patterson Tank – This is one of the most essential equipment you need, this is where the actual development process takes place. I use the 2 spool version, one spool can take one 135 roll. You can also expand one spool to take on one 120 (medium format) roll. You need to fill your tank 300 ml for one roll and 600 ml if you are going to develop 2 rolls at a time. Take note of those numbers as they will be crucial in the mixing of your chemicals. That black rod in the middle is your agitation tool.
Chemical Mixing Essentials
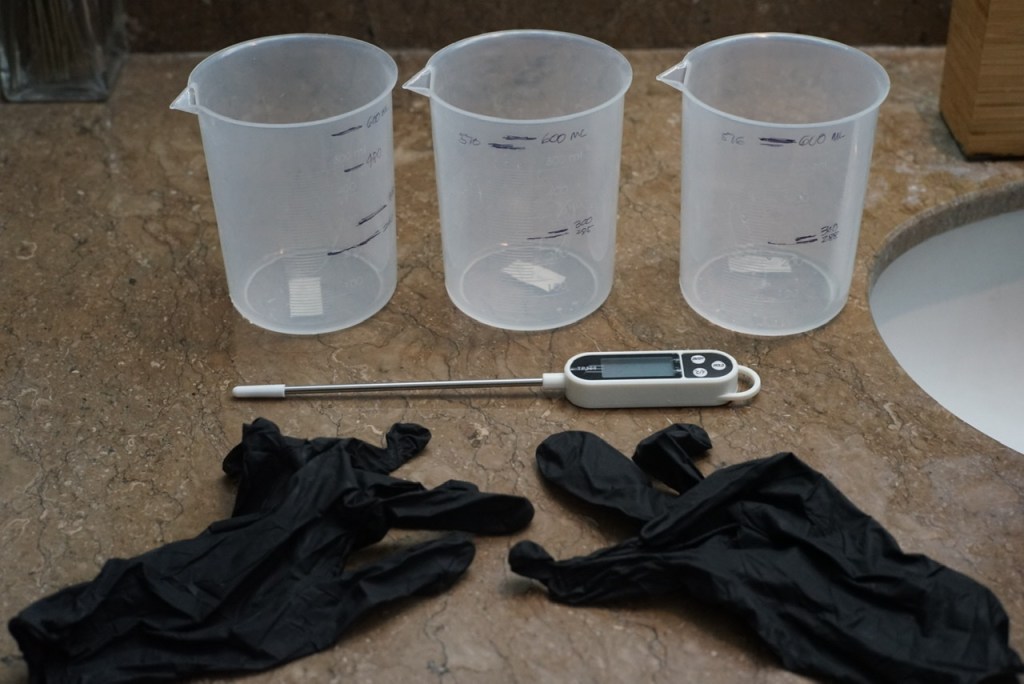
I use 3 graduated beakers (up to 600ml) but it would be best to get one in 1000ml graduations as mine goes up dangerously close to the top edge and is in danger of spilling. These are used for the Developer, the Stopbath and the Fixer. Note that I have marked each accordingly for quick reference.
Digital or glass thermometer – to measure temperature of the chemicals. It’s what i also use to stir, but make sure you wipe them down when moving from chemical to chemical.
Gloves – B&W chemicals are not too strong but if you have sensitive skin you can wear protective gloves. I’ve only itched during the first few times and have stopped using them.
I just got these from Lazada and Shopee. No specific brands required.
Stuff I use to transfer rolls into the spools
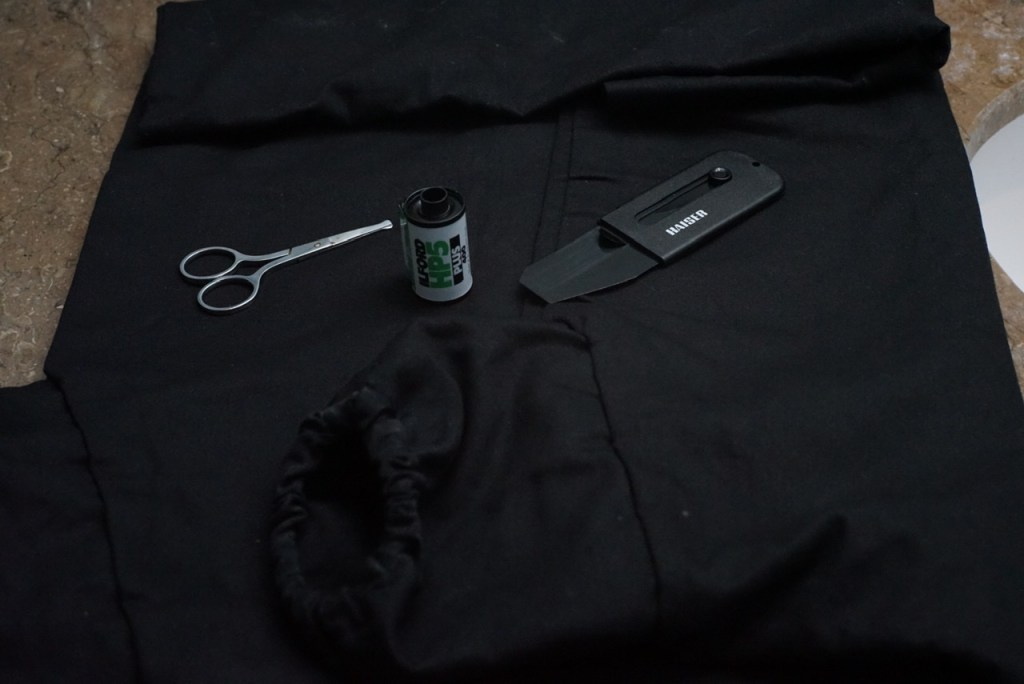
Changing bag – This is very important if you do not have a dark room where you can open up the canister without exposing your film. This has a sleeve with 2 garterized openings and both a zipper and Velcro seal to ensure that no light comes in.
Film picker – This is optional for some who actually use an entirely different method in transferring the roll into the spool by opening up the canister inside the bag with a bottle opener. The way I do it is I use this film picker to pull the film leader from the roll and then load up the first part of the film into the spool outside the bag and continue to do it inside the bag. I honestly cannot imagine doing it any other way as I have been very successful with this method.
Scissors – I use a small one to cut the end of the film once I’ve loaded it into the spool. Remember, you are doing all of this blindly so using a super sharp heavy duty scissor might cost you a finger.
I got the changing bag from Lazada and the Picker from https://www.theonlinewarehouse.biz
Ok lets get to the meat of the post.
PREPARE THE ROLL AND THE CHEMICALS
- Transfer your roll into the spools and into the Patterson tank. I’ve put some details above and its pretty straight forward. Some additional tips: Make sure your Patterson tank is sealed (firstly by the funnel seal and secondly by the lid) when you take it out of your changing bag.
- Prepare your Developer – For B&W Developing each film stock would require different developing conditions for the type of developer you use. I use https://www.digitaltruth.com/devchart.php to check what temperature and dilution I need for the stock and developer I use. Please note that these change too depending on the ISO and whether you want to push or pull your film. For simplification I will take HP5 developed at box speed as an example.

- Prepare your stop bath and fixer – You may refer to the instructions for the brand you will use but for Ilford I use 15ml stopbath and 285 ml water for one roll and 60 ml fixer and 240 ml water for one roll. You can reuse the fixer, I’m just not sure for how many times but i remix after 4 or so rolls.
- Make sure all your chemicals are at 20 Deg Celsius, even the water you use for your initial wash. I usually just get some cold water form our dispenser and mix with regular temp water til I get 20 degrees.
THIS IS IT, TIME TO DEVELOP ROLLS!
- Ready a timer. I use my cellphone and make sure my screen lock is set to never and that I am on airplane mode so I don’t lose track of the time. Remember, these steps happen immediately after the other and it is critical to stay within these parameters at all times. No pressure :-). I discovered an app called Dev It! that made this easier.
- Pre-wash – Remove the lid of the Paterson tank (just the outer one) and pour distilled water at 20 deg Celsius in. I spend just around 2 to 3 minutes on this. Reseal with the lid and turn the tank by inverting it in a semi circular motion. Once done, drain the tank thoroughly.
- Pour your developer into the tank and agitate (by using the stick and turning it OR by inverting the tank in a semi circular manner) for the first minute and then for 15 seconds after every 30 seconds. As per my example of HP, you will do this for 6 minutes. They say you can control your grains and contrast by changing up your agitation timings – but I’ve never really done any formal comparisons. When the time is up. Pour out your developer into the sink. I am told this is friendly to the water pipes. But still, sorry water pipes!
- Pour in your stopbath. Agitate for 60 seconds straight. Pour it out the drain. Sorry again water pipes!
- Pour in your fixer and agitate fir 15 secs every 30 seconds. After 3 minutes, pour your used fixer into a container. You can use this again. Not sure for how many time, but i remix again after every 4 rolls or so.
- By this time, your rolls are developed and your images are secure. You can now remove the lid and the funnel seal and wash your film. I usually take around 2-3 minutes again. Then i use the soap and water solution i mentioned above to ensure that there are no water marks on the film when it is drying out. Wipe the film with a squeegee to remove excess water. I only use the highly absorbent rags (chamois) I use to clean my car.
- Take a deep inhale and remove your film from the spool as you take a look whether there are images. You can let out a sigh of relief when it does.
- Hang your film to dry for a couple of hours (usually 1.5 for me).
- THAT’s IT!!! Pat yourself on the back my friend.
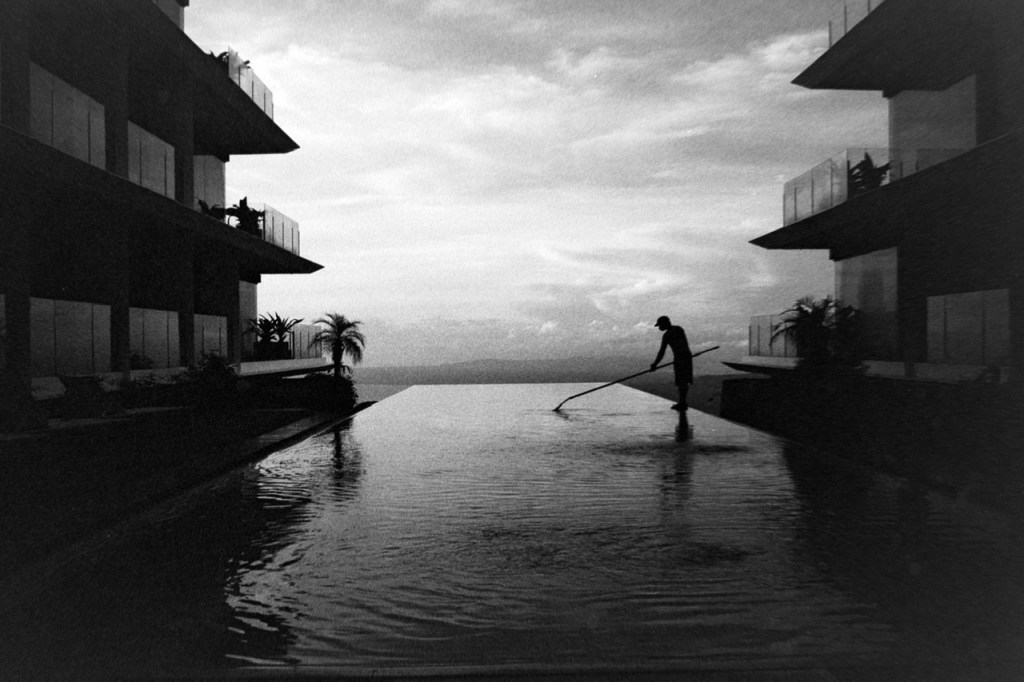
Some sample photos I developed
HP5 Pushed to 1600 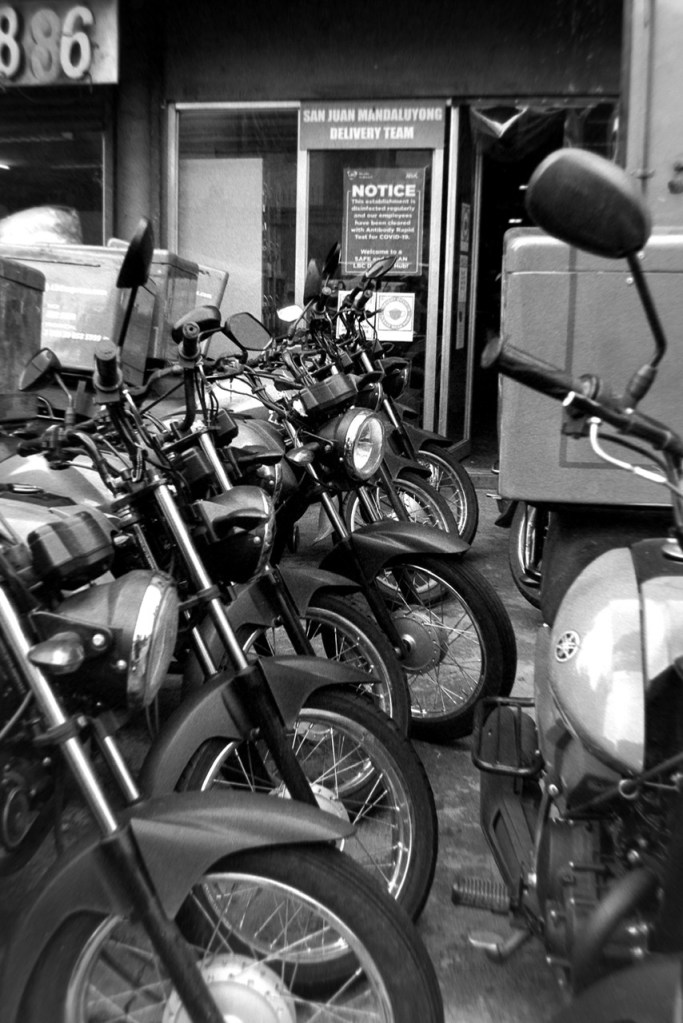
APX 400 Box speed 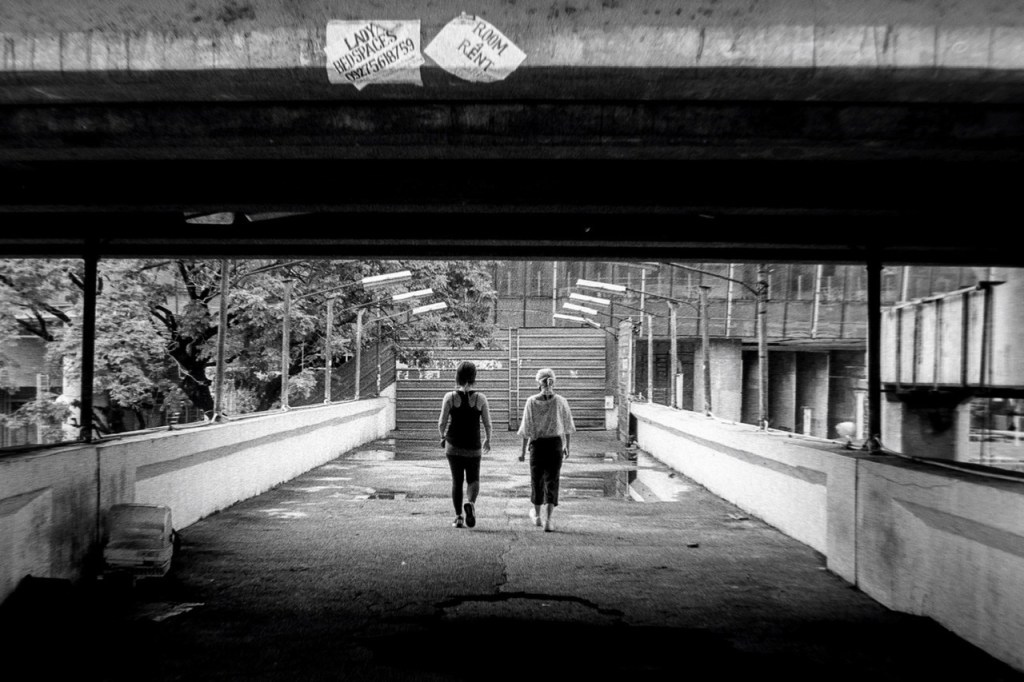
APX 400, Box Speed 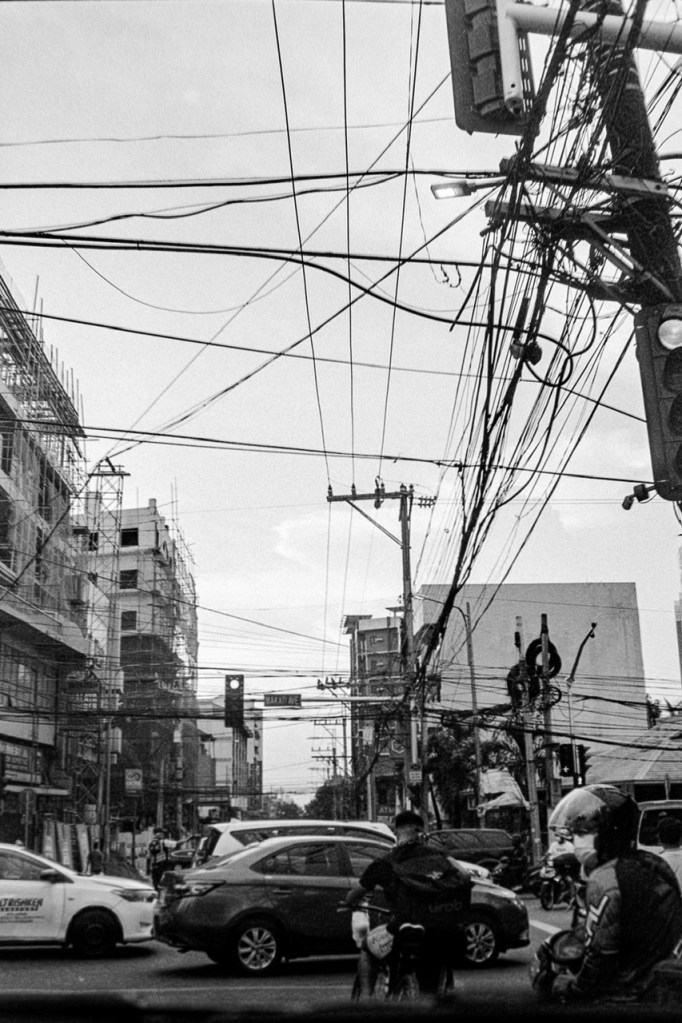
HP5, Box Speed 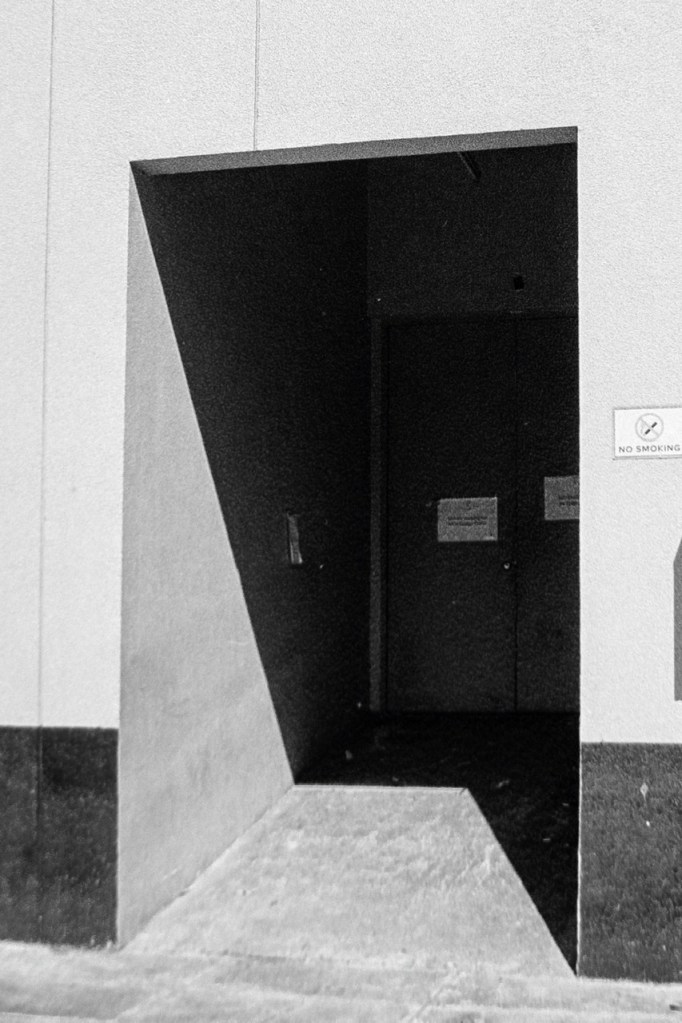
HP5 Box Speed 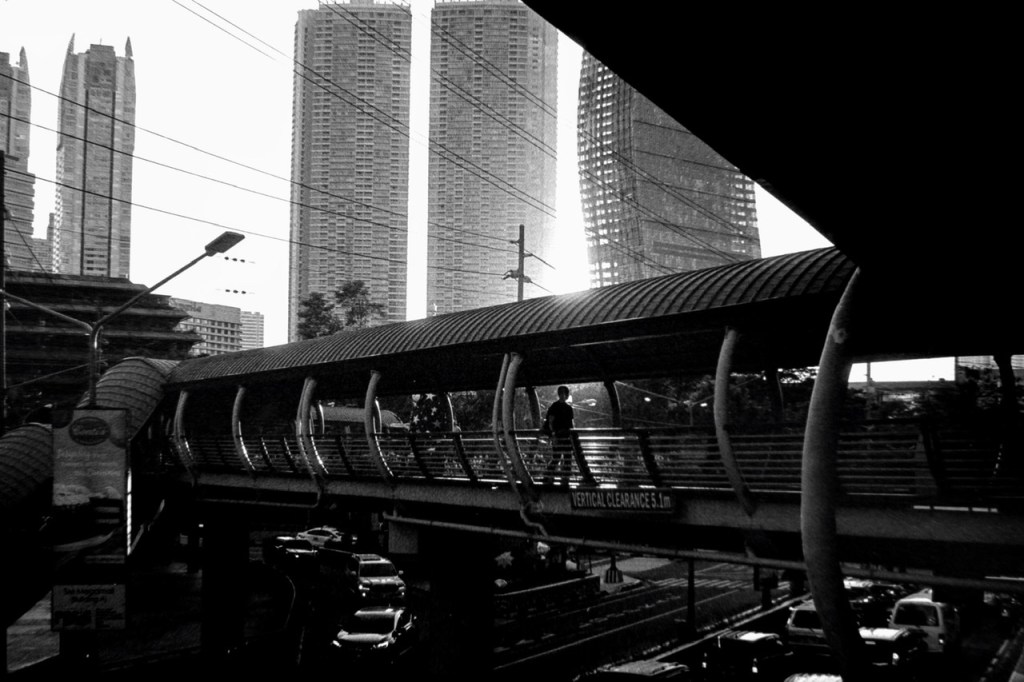
Kentmere Pan 400, box speed 
HP5, box speed 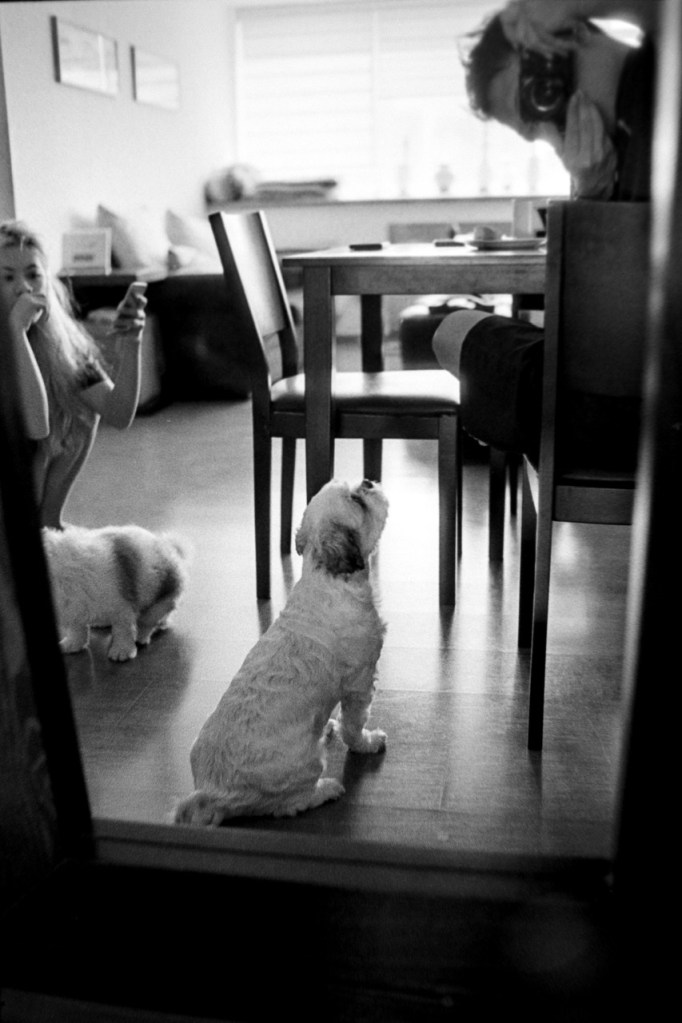
HP5 box speed
I also self scanned these but I’m sot yet sure if I want to do a post on that one, let’s see if anyone reads this (and finds it useful) first.

Yes!! Please do a separate post for your scans!! 💛💛💛 Thanks for the very detailed tutorial!!
LikeLiked by 1 person
Thank you for taking the time! Hope you learned something and apply it. Can’t wait to hear about your experience.
LikeLiked by 1 person
I did! Ipon muna ng equipment and lakas ng loob sir ahaha!
LikeLiked by 1 person
Nice breakdown, bro!
Well written 🙂 i hope to try this in the future.
LikeLiked by 1 person
Thanks Chief for taking the time to read, let me know how it goes
LikeLike
Thanks for this, very helpful. I don’t see parodinal on the online warehouse website, is fomadon R09 the same thing?
Cheers!
LikeLiked by 1 person
Hello, glad to know! As confirmed by them, yes it is the same – only rebranded.
LikeLike